Pages

Wednesday, April 30, 2014

Vintage-inspired Floral Nail Art

I've been incredibly busy working on my final projects for school, but have been dying to do a real manicure for weeks. Today I happened to have a couple of hours to myself (rare) and decided that it was time... but I was feeling totally uninspired. Then, I remembered this awesome floral top I picked up at Goodwill a few weeks ago, and I knew EXACTLY what the inspiration for this mani was going to be!

The blouse is made of an ivory polyester crepe and is covered in half-dollar-sized coral-colored flowers that have bright blue-purple centers and abundant bright green leaves.  It's such a cheerful, springy pattern that I had to pick it up.  There's no tag, but I suspect that it was made in the eighties (just like me!  LOL).

With polish bottle for scale! (I can't help it; I'm a geologist!)
For this manicure, I had to custom-mix a bunch of colors to get the shades right.  For the background, I mixed a half bottle of plain white (L'Oreal French Tip White) with 8-10 drops of Julep Stella, a boxed-macaroni yellow-orange, to get an antique white creme.  I painted three coats of this over Sally Hansen Hard as Nails Hard as Wraps.  I then painted little splotchy rings of Wet n Wild Blaze randomly on each nail.  It's not the most pigmented polish, so I went over each one twice.  Next, I used a tiny paintbrush to add little smudges of Revlon Cherries in the Snow to the outer edges of the petals.  For the leaves, I mixed a couple of drops of Julep Roc Solid with China Glaze Budding Romance (my favorite polish of all time!), and painted little dashes randomly around the edges of each "flower."  The centers of the flowers were a mix of Sinful Colors Go Go Boots and Nina Ultra Pro Sailor.  I used a dotting tool to place a large dot in the center of each flower.  Last, I used a tiny brush with a bit of Sally Hansen Night Flight to place little dashes around the outside of the flowers and around the centers.  I'm not sure how I feel about the outcome of this last step, because it looks a bit messy up close.

Please excuse my ragged cuticles... I'm out of orange sticks, and I resolved not to use my nails as tools anymore! 


I usually feel like I shouldn't bother doing a crazy mani with my nubby nails, but I've been having such a hard time growing them out lately because of the horrible Buffalo winter, the stress and associated poor diet, and the fact that I have been terrible about my cuticles.  That said, I'm still really happy with this mani.  It's super cheerful, and from a normal viewing distance, it looks pretty good!!! 

Where do you find inspiration for your nail art?  Tell me in the comments :^)

Friday, April 18, 2014

Bunny Prints Skittle Pond Nail Art with OPI Sheer Tints

A few weeks ago I purchased the mini OPI Sheer Tints set.  I couldn't justify spending US $36 on polishes I probably wouldn't use that often, so I ended up springing (ha! no pun intended!) for the mini set (OPI Sheer Tints, Sheer Mini Hint of Tint).  There are two manicures I've been dying to try lately:  a pond manicure (see some amazing examples here and here) and a syrup manicure (here and here).  I've done the former here:

Please ignore my desiccated cuticles.
I've seen  lot of pond manicures that do dots or flowers, but with Easter coming up, I wanted to do something a bit different... enter, bunny prints!  For this manicure I used the Bundle Monster plate BM-424 to create the "bunny prints" between layers of OPI Sheer Tints topcoat.  Above, from pinky to thumb:  'I'm Never Amberrassed', 'Be Magentale With Me', 'I Can Teal You Like Me', 'Don't Violet Me Down', and 'I Can Teal You Like Me' again.

If you're not familiar with the concept of a pond manicure, it's similar to a jelly sandwich:  jelly/glitter/jelly; except triple or quadruple decker, and with light colored polish designs rather than glitter.  To make this design, I stamped little paws haphazardly and sparsely across bare nail.  I then topped it off with one of the sheer tints, and waited for it to dry.  I then layered more paw prints in other areas of the nail, and topped it off with another layer of sheer tint.  I repeated the stamp-tint step one more time (for a total of three layers of OPI sheer tint) and added one more set of paw prints to fill in any gaps and add another layer of dimension.  I then topped it off with a clear top coat.

Lefty.
For this manicure, I used the following products:
  • Base coat:  Sally Hansen Hard as Nails - Hard as Wraps
  • L'Oreal  French Tip White
  • OPI Sheer Tints minis in 'I'm Never Amberrassed', 'Be Magentale With Me', 'I Can Teal You Like Me', and 'Don't Violet Me Down'
  • Bundle Monster Stamping Plate in BM-424
  • Konad stamper
  • Top coat: Salon Perfect Top Coat
These worked great for a pond manicure, but I think they would be too sheer for a syrup manicure (unless you used like seven coats).  These definitely have a top coat formula; they smell similar to Seche Vite and Salon Perfect top coats and have similar qualities in terms of texture and drying time (i.e. glop it on like there's no tomorrow).  This was convenient, because the number of steps for this manicure would have made it a prohibitively long process if I had to wait ten to fifteen minutes before stamping each time.  As it was, I had to wait about 30 seconds.  On the negative side, it dried SO fast that I kept getting little polish strings everywhere, and if I used more than three strokes to cover the nail it started getting bumpy and draggy.

Squiiiiiishy!
Weirdly, I think my favorite color of the set is the yellow.  While I usually associate sheer, yellow nail color with stained or diseased nailbeds, the orangey-gold tone to this yellow translates more as "bright squishy marigold" rather than "witch fingers."  They are all pretty similar in terms of application, so it's really a matter of color preference.  In these photos, all of the colors except 'I Can Teal You Like Me' are represented pretty accurately; in real life, 'I Can Teal You Like Me' is much more of a teal (go figure) than a blue as it is shown here

Overall, I am really enjoying this mani.  I used this set once previously for a pond pedi and enjoyed that as well!  For the price (I paid $10.35 for the set of minis on Amazon), I think these are a great value and were definitely worth adding to my collection.

Have you ever done a pond manicure?


Bonus spring pedi picture!  Lookit my weird toes!


Thursday, April 17, 2014

Flame Princess inspired Nails

So my very FAVORITE television show in the entire world is Adventure Time... I don't know if it's the innocence, the pure silliness, or what, but that show always takes me to my calm, happy place.  If you watch the show, then you probably know that season two was recently added to Netflix, finally (Errr... a month ago.  Clearly I am on top of these things).  To commemorate the occasion, I did a manicure inspired by one of the characters:  Finn's on-again, off-again girlfriend, Flame Princess!

http://25.media.tumblr.com/02afc8d63a53139daa5dfbbd6aed4627/tumblr_miya1cr95B1rd0rbzo5_500.gif
 While I would have a super hard time choosing a favorite character (just kidding, it's Jake), Flame Princess is right up there.  The weather in Buffalo has been pretty nice lately, so I thought some bright colors would maybe nudge me into a more springy mindset.  Here's what I came up with!

This is actually after I'd been wearing it for about five days... one of the longest wearing manicures I've had in a long time.  Barely any tip wear!
For this mani, I did a sponge gradient and topped it off with an iridescent polish.  These are the polishes I used:
  • Base coat:  Sally Hansen Hard as Nails - Hard as Wraps
  • 2 coats China Glaze 'Sun Worshiper'
  • Sponged from middle of nail to free edge:  Wet n wild Wild Shine nail color in 'cursed'
  • Sponged onto free edge:  Essie 'Geranium' 
  • 1 coat Sinful Colors 'Let me Go'
  • Top coat:  Salon Perfect top coat
Sun Worshiper was a gift from my lovely friend Mary that came as part of CG's 'On the Dot' set.  It is an absolutely exquisite highlighter orange neon.  It is probably one of my absolute favorite colors in my collection due to its uniqueness and super punchy color.  The formula is typical of a neon; it dries matte, and for the fastest punch of color it's best layered over white.  Personally, I prefer neons over my natural nail; I always end up with white peeking out around the edges and it ends up looking sloppy... but that says more about my technique (or lack thereof) than anything!!!  I only used two coats (because I was adding more), but this polish is opaque in 3 thin coats.

Again in bright sunlight.  Here, you can see the tip wear on my thumb... the beginning of the end!!!
'Cursed' is a bright, medium orange crelly that is part of their recently released Street Art collection.  It's the orangest orange I have... if that makes any sense!  Most orange nail polishes I come across lean yellow or coral or red, but this one is just crayon orange.  It's very sheer, and requires 4-5 coats for opacity depending on thickness.  For a gradient, this was actually a super convenient finish.  I'm generally not a fan of the visible-nail-line look, but if you are looking for a sheerer orange, this is a great color.  The formula is very workable, not super streaky.  I definitely see myself using this a lot this summer!

'Geranium' is a very popular polish, and for good reason.  It's an orange-leaning red (or red-leaning orange?) cream with excellent opacity and formula.  It's a color I find myself reaching for a lot, but there are a lot of very similar colors out there (even within the Essie brand... 'Clam Bake' and 'Fifth Avenue' are pretty similar in shade).  Still, the formula really can't be beat, and I will buy it again when this bottle is gone! Opaque in one coat.

Indirect sunlight... the wear on the tip of my thumb is making my eye twitch!  Perhaps next time I will take photos BEFORE my manicure starts to self destruct...
Sinful Colors 'Let me Go' looks absolutely magical in the bottle... a swirly purple-blue-green duochrome that makes me think of fairies or unicorns.  As I expected when I purchased it, it is VERY sheer, but it looks awesome over undies.  The shimmer leans light green to white, and is really quite subtle and nice.  Even though the shimmer is suspended in a purple base, it does not seem to affect the color underneath (as you can see here).  Layered over dove gray or lavender, I imagine that you could get the color as it appears in the bottle in two thin coats.  Otherwise... probably five coats, maybe six.  On a side note, the name of this polish is just so serious and sad, it's a little depressing... pretty heavy for a nail polish I think.

IT'S SUMMER, DAMN IT.
I was waffling a bit on whether I liked the iridescent shimmer over the gradient, but I think it added an interesting dimension.  It seemed to hide the gradient somewhat, especially in bright artificial light, but as a result the gradient felt like a hidden Easter egg that you could only see in the right light.  Anyway, it was fun :^)

So on that note, I am going to go watch some Adventure Time... thinking about an AT nail art mani in a few weeks.  Perhaps, perhaps...

Have a great weekend!

Saturday, April 5, 2014

Longwear Liquid Lipsticks Review and Comparison

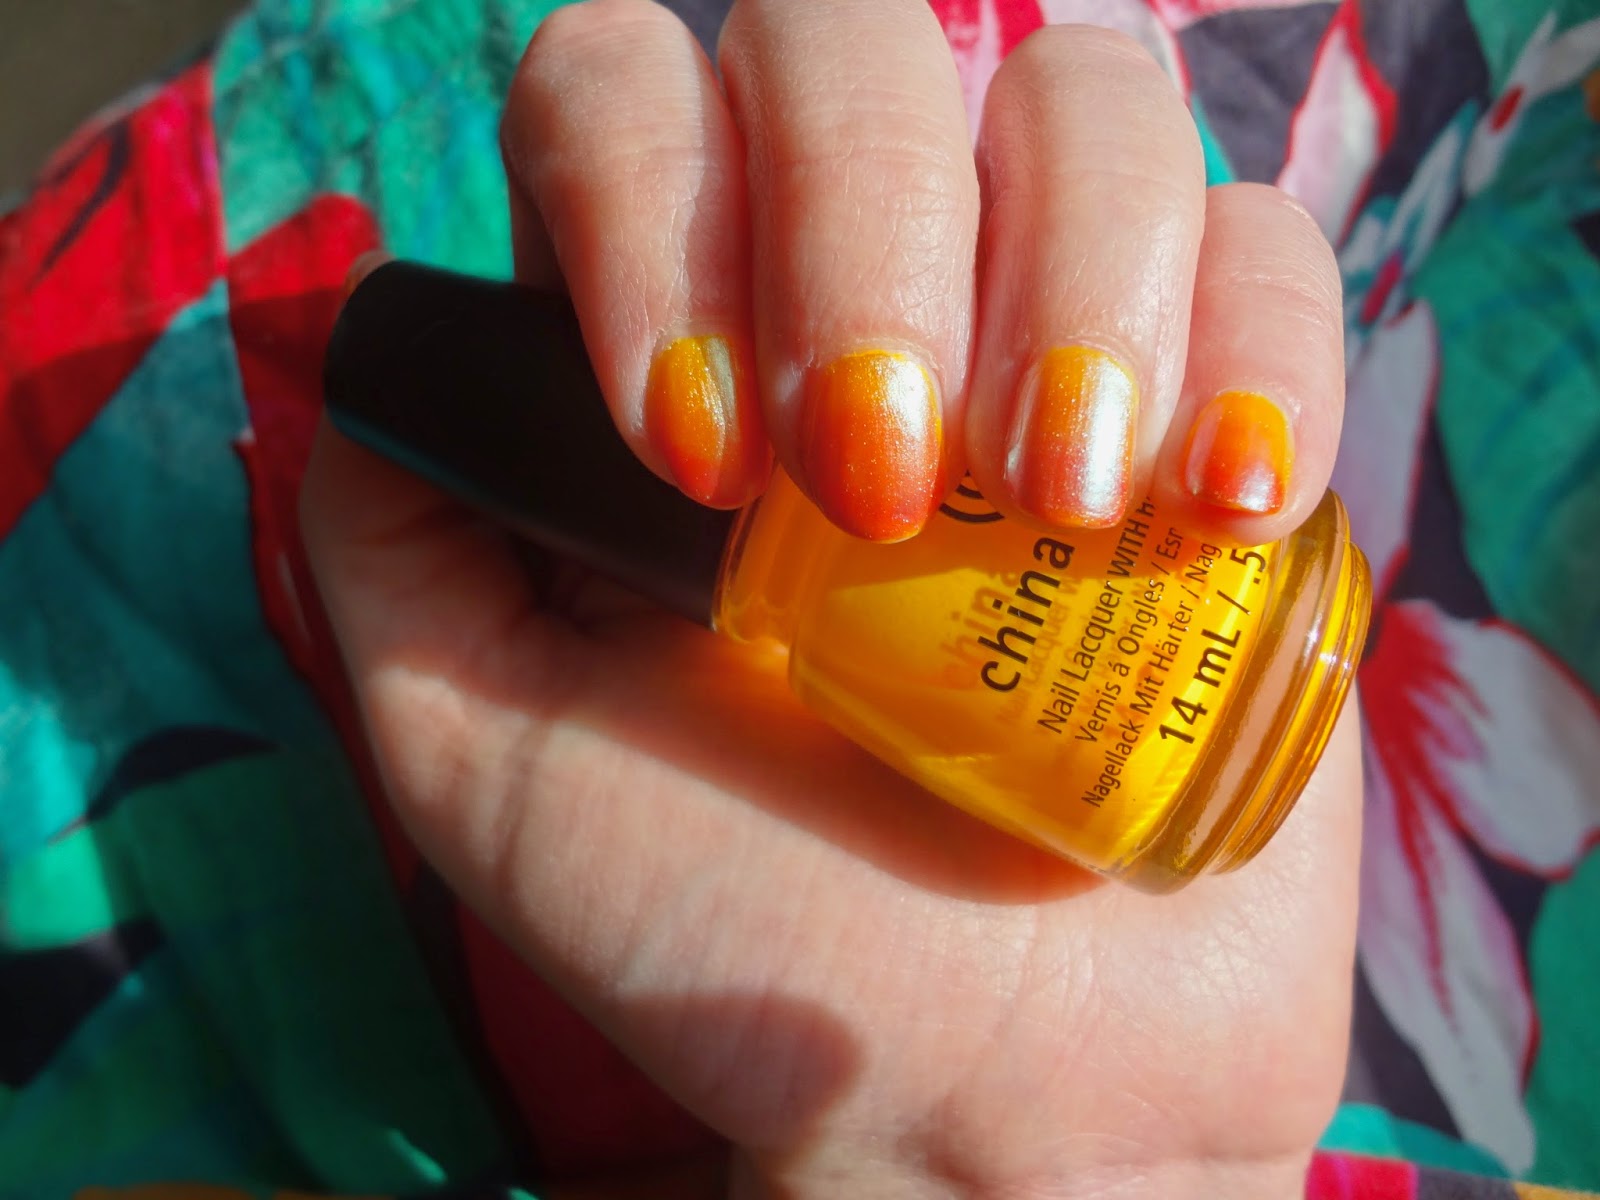
One of my favorite products on the market is liquid lipstick, and I have quite a few now. They go on like a gloss but are highly pigmented, and dry to a matte finish. Their selling point is that they last for a SUPER long time, in the neighborhood of 8-16 hours. While I don't often do a bold eyeshadow look, I love a bright lip and wear it often. One of my pet peeves is the gradual (or not gradual) disappearance of lipcolor along the insides of my lips, leaving a shockingly bright ring of color on the margins. Not cute. Naturally, I wanted something that stayed a little longer than it took to put on.

Enter Obsessive Compulsive Cosmetics Lip Tar in NSFW.

This was my first liquid lipstick; I wore it once. I tried to wear it other times, but this stuff is a hot mess. I HATE it. Application is tricky, as it is very liquidy (like paint) and stains on contact. Even though removal of the gunk itself is easy, it leaves color behind. It comes in a little squeeze tube with a tiny lip brush, which is nice in terms of hygiene, and the tube should conceivably last forever (we're ignoring expiration dates here) because the amount you need to cover your lips is infinitesimally small... like the head of a pin, and I'm not exaggerating. Once you get it applied and presumably apply concealer to the entire area adjacent to your mouth, it takes an eternity to dry... like, a half hour. During this time, it transfers to everything between you and the nearest metropolitan area. Don't even think about eating, drinking, putting on or taking off clothes, kissing someone, etc. during this time. Your teeth WILL have lip tar on them; accept it and move on. It also bleeds like an SOB, and ends up covering a larger area than originally intended. It smears easily the entire time it is on (even once it has "set"), and continues to stain. Every time I wore it, I ended up with smears on my cheeks and chin, and fading at the center of my lips.  I really, really, really don't get the cult following behind this product. It costs $18 for 0.33 oz, putting it at $54.54/oz.
Pictured:  An OCC Lip Tar evangelist in NSFW
http://i246.photobucket.com/albums/gg112/rabbitwolf/cartoons%20non-anime/tumblr_lyf7q4ygfb1r05ly0.gif

 OCC Lip Tar in NSFW is the first swatch below:
Pictured from left to right:  OCC Lip Tar in NSFW, Wet 'n' Wild Megalast Liquid Lipstick in , Wet 'n' Wild Megalast Liquid Lipstick in , Revlon Colorstay Ultimate Liquid Lipstick in Royal Raisin, Revlon Colorstay Ultimate Liquid Lipstick in Vigorous Violet, Stila Stay All Day Liquid Lipstick in Tesoro.
As you can see, it's still very wet, even though these had been on my skin for nearly 15 minutes.  If you look closer, it has already bled a lot:

By the time it was "dry," it was covering nearly twice the width it was when I applied it.  The only good thing about this product is that it smells like vanilla.

Next up is Wet 'n' Wild Megalast Liquid Lipstick in Cherry on Top and Back to the Fuchsia (ha!).  I wasn't expecting a lot from this at a cost of $2.99 for 0.23 oz ($13.00/oz), but I should have known not to judge a product on price alone.  These come in a classic lip gloss container with a wand applicator.  This is not ideal in terms of hygeine, but at that pricepoint I'm willing to let it slide.  The wand applicator is larger, flatter, and more flexible than the wands in the other products of this type, resulting in the second-most difficult application (OCC Lip Tar takes first).  It dries quickly to a waxy matte finish, and doesn't feel rubbery or sticky when dry like the other products I tried.  It is a bit drying, but I have come to expect this from a product that boasts 12+ hours of wear.  It is nearly impossible to remove without an oil-based makeup remover, but a dab of baby oil on a cotton swab took care of it very easily.  This stuff wore like iron and was the most comfortable of all of the products on my lips.  Cherry on Top is a bold blue-based red with a hint of subtle, grown-up shimmer.  It leans just a hair pinker than OCC NSFW.  Back to the Fuchsia is a bright matte pink. Here it is on my lips:
 And again:

These were a bit hard to photograph; the color in real life most closely resembles the swatch on my arm (above). I love these, and I think they'll be getting a lot of use.

I was in Laramie, Wyoming a few months ago for a job interview and found myself bored during the down time between my interview and my flight out.  There's very little to do in Laramie at a moment's notice (save for drinking at the Buckhorn... but I was alone and didn't feel particularly like I needed to drown my sorrows at the time).  Long story short, I wound up at Kmart, where I got two tubes of Revlon Colorstay Ultimate Liquid Lipstick for half price (bright lips aren't a big trend in Laramie I guess...).  These have a consistency similar to lipgloss on application, but more pigmented.  They dry down to a matte, slightly shimmery finish that fees a bit rubbery and sticky on the lips.  Application is a bit difficult, as these are more sheer than the others (as you can see above in the arm swatches).  On the plus side, it is easy to build up intensity on these; they layer nicely without affecting wear.  I didn't particularly like Royal Raisin on me; it was more of a brown red than I thought when I bought it.  It's a very '90s look, which isn't really my aesthetic.  Vigorous Violet is much more my style; it's a pinky purple with a little shimmer (but not *too* much shimmer.  I'm an adult).  Here it is on my lips at two intensity levels:
Revlon Colorstay Ultimate Liquid Lipstick in Vigorous Violet- one coat
It actually translates a bit more purple in real life, but this is definitely something you could wear to work, even in a conservative office environment.


Revlon Colorstay Ultimate Liquid Lipstick in Vigorous Violet- two coats
As before, the color is truest in the arm swatch at the top of the post, but it's definitely more purple than pink.  You will get "whoa" reactions if you work in most traditional environments.  This look is definitely NOT office appropriate in most office environments.


The wear on these was very good; I actually had to work to get all of it off, but it did stain a little.  One thing that I did like about these is that Chapstick didn't seem to affect the wear time.  This is a bonus because I find that this type of lip product does tend to dry out my lips a bit.  These retail for $10.99 for 0.1 oz, which rings in at $109 per ounce -- nearly twice the cost of the OCC Lip Tar.
Last but not least, I picked up Stila Stay All Day Liquid Lipstick online because I was looking for a bright red to replace the disaster that was the OCC Lip Tar.  Tesoro is not a bright red, but I actually love the color; it's a bright orange with a hint of coral that's actually super, super wearable.  The formula is creamy and smells like vanilla.  It is the easiest to apply of the ones I tried, and seems to balance the drying time between "too fast to correct mistakes" and "oh my god when can I move my lips again."  On the lips, it feels a bit drying and rubbery.  It comes in a tube with a wand applicator as do all of the others I swatched, with the exception of the OCC Lip Tar.  It's very opaque, but the wear time is not as good as either the Revlon or the Wet 'n' Wild.  I reapplied it after lunch because it was fading slightly in the center, and putting on a second layer made it clumpy and weird.  It was kind of annoying, because I had to remove it completely before I could reapply.  It took a little elbow grease (and public bathroom foam handsoap) to remove all vestiges of orange from my mouth and surrounding area after laying waste to my lips with a paper towel.  At $22 for 0.1 oz ($220 per ounce) this was twice the price of the next most expensive product I tried.  I won't be buying another one, but I will definitely use up my tube of Tesoro because the color is sublime.  It leans a bit more orange in real life (like the arm swatch above), but you can see how opaque it is:

When I was all done doing my swatches and taking pictures for this post, I left the swatches on my arm for a couple of hours before trying to remove them.  I took a dry cotton swab and wiped it across the swatches to remove them.  Originally I wasn't intending to put this in the post, but the result was so dramatic that I had to include it:
Pictured from left to right:   Small smear, OCC Lip Tar in NSFW, Wet 'n' Wild Megalast Liquid Lipstick in , Wet 'n' Wild Megalast Liquid Lipstick in , Revlon Colorstay Ultimate Liquid Lipstick in Royal Raisin, Revlon Colorstay Ultimate Liquid Lipstick in Vigorous Violet, Stila Stay All Day Liquid Lipstick in Tesoro.

Uhhh... Holy shit.  Like I said before, the Wet 'n' Wild is easy to remove with an oil-based makeup remover, but in terms of mechanical scrubbing, it's practically impervious.  Even pressing down my finger and rubbing it back and forth over this stuff, it doesn't budge.  The same could NOT be said for any of the other products.  These run more than eight times cheaper than the next cheapest product I tried, and nearly seventeen times cheaper than the most expensive.  It's a little bit ridiculous.  Even if it were at the highest pricepoint, it's still the one I'd buy because it is that much better.  I think the takeaway here is that price isn't necessarily correlated with quality.  I'll definitely pick a couple more of these up next time I'm at the drugstore.


Thursday, April 3, 2014

Makeup for Downturned Eyes, and my Dry-Skin Care Regimen

Whew, it's been a long couple of weeks... school has been super, super stressful and then I got sick. I've been home for three days, but since I'm feeling marginally better today I decided to do a new post! Woo! So... I know that we are supposed to love our selves and our bodies... and I do.  I have features that I like about myself, and other features... not so much. I have always coveted the almond-eyed look that's so ubiquitous in magazines and on TV, but my eyes are down-turned at the corners (I call them my bassett hound eyes. Does this make it sound cute? I think so.). Anyway, one of the biggest challenges for me has been to figure out how to get that sultry up-turned almond-shape, especially when I'm going to a party. Here's what I'm starting with (don't judge the hair or background... I'm currently working on getting a better photo setup in place!!!):
Bitchy resting face.
I am not wearing makeup yet in these pictures, but full disclosure:  I did pluck my eyebrows.  They were getting caterpillar-y and it was unpleasant.

This is my normal skincare routine (when I can be bothered... sometimes I am lazy):

  1. Noxzema Triple Clean Anti-Blemish Pads:  I use these to get rid of any dead dry skin, oil, or dirt before I apply my makeup; it also has salicylic acid to prevent pimples (such a gross word).  I do get breakouts occasionally, especially on my chin, so this is a must for me.  They are a bit harsh, but there are other kinds (like Aveeno Clear Complexion Daily Cleansing Pads) that are gentler.  Alternatively, any kind of astringent toner or face wash would probably be fine!
  2. Olay Beauty Fluid (Summer) or Nivea Soft (Winter):  Since my skin tends to be significantly drier (like the Sahara...) in the colder months, I use a heavier moisturizer.  Nivea Soft is awesome; it comes in a hygienic squeeze bottle, and it's super thick and creamy without being oily or greasy.  It soaks in really fast and prevents my foundation from being flaky.  In the summer, I lean more towards combination skin, with some oiliness in my T-zone.  I use Olay Beauty Fluid in the summer because it is super light and not oily at all.  One of these days I'll get a moisturizer with SPF, but I have yet to find one in my price range that doesn't irritate my skin.
  3. Hydrating Powder:  In the last year or two, Almay and Revlon started making these "hydrating powders" that I bought on a whim.  My dry skin usually means that powders make me look super cakey and flakey, but these are magical.  They kind of melt into the skin, and set my makeup without looking powdery.  Today I used Revlon Colorstay Aqua Mineral Makeup in Translucent.  If they stop making this I will cry.
I'm currently lusting after the Tarte Clean Slate Poreless 12-hr Perfecting Primer (uh... that's a mouthful).  I swatched it at Sephora... it's liquid photoshop.  I don't generally wear foundation except as a concealer because it makes me look too plastic-y.

So after I prepped my skin, this is the look I put together:

For this look, I used the following products:
  • NYX High Definition Eyeshadow Base
  • Julep Sweep Eyeshadow Palette:  Neutrals (Tiramisu, Glow, and Dusk)
  • Lorac Pro Palette (Cream, Nude, Garnet, Deep Purple)
  • Benefit They're Real! Mascara
  • Ulta Eye Shadow in Milk Chocolate
First, I put a dot of the NYX eye primer on my top and bottom lids and blended it around with my finger.  Seriously, this stuff has incredible staying power when applied properly, but a little goes a LONG way - I've found that it's easy to put too much on, and then it never dries and your eyeshadow slides off.  While I waited for that to dry, I filled in my brows using an angled liner brush and Ulta Milk Chocolate.  Next, I applied Lorac Cream to my browbones and Julep Tiramisu to the inner half of my upper lids up to the crease.  I applied Julep Dusk to the outer half of my upper lids up to the crease as well as the outer half of my bottom lids, and blended them.  Next, I applied Lorac Deep Purple to the outer half of my upper lash line and to the crease.  I also put a little on the outer corner of my lower lashline.  I then blended the Deep Purple out on both lids with a little bit of Lorac Garnet on my brush, and applied Julep Glow between my crease and brow bone, where it needed a little more blending.  Last, I applied Lorac Nude to my inner corners, and followed it up with a coat of Benefit They're Real! Mascara (in what I believe to be "black", but it is a sample so it doesn't say on the tube).

This is a more dramatic look than I usually do, especially for work, but the same principles apply.  The darkest color sweeps through the crease and blends up and away, creating an illusion of more up-turned eyes.

Hope you like!  I know I've got a lot to learn; I'd like to get a better photo setup going in my new apartment after the move so I can take more decent photos.  For now I just have to deal! :^)  Have a great weekend!